
PCB Assembly Step-by-Step Guide
Before the electrical components are assembled, the circuit board is called a prototype circuit board. Printed circuit board assembly or PCB board assembly (PCBA) is the process of assembling solder paste and various components such as integrated circuits, resistors, and capacitors on a PCB or printed circuit board.
Here is the step-by-step process for PCB board assembly:
Step 1: Apply solder paste to the PCB board
Use a mechanical clamp to place a thin stainless steel stencil on the board. The solder paste should be spread evenly on the board exactly where you want it.
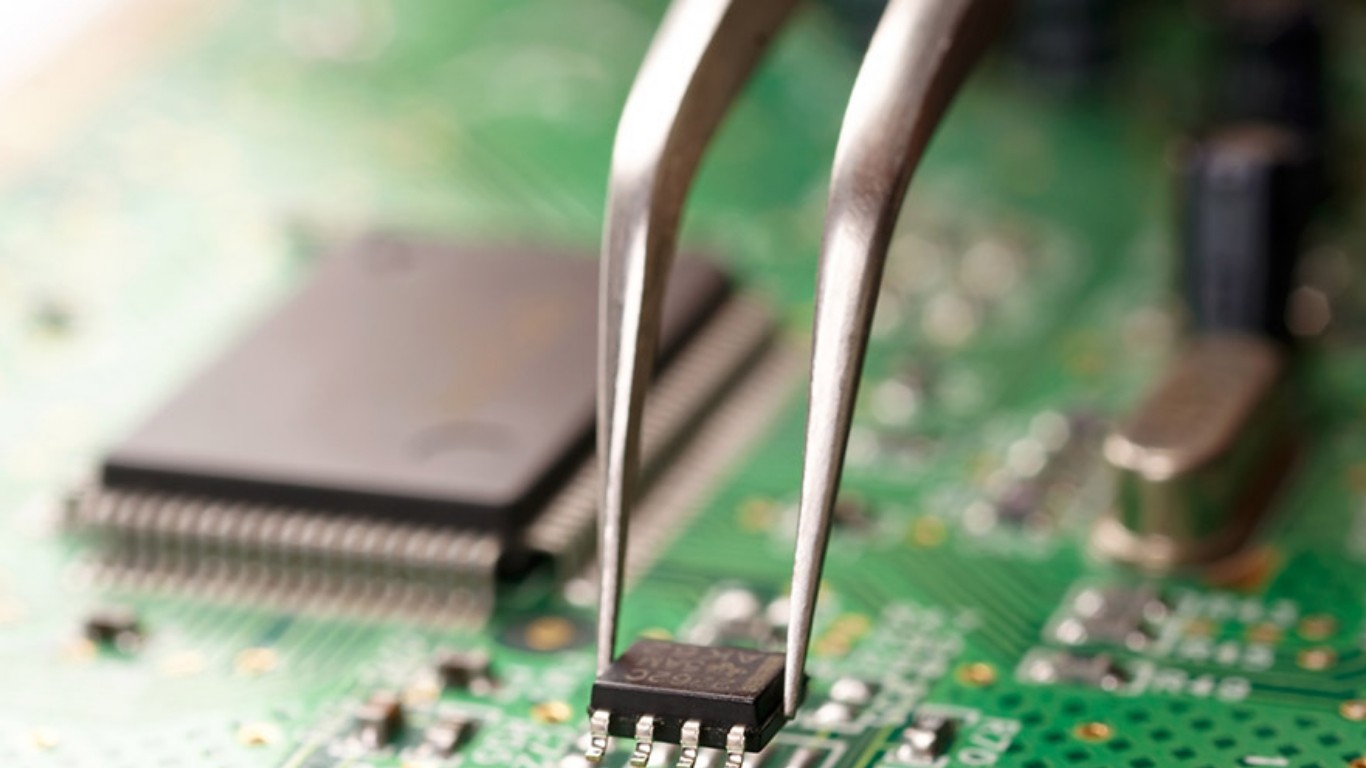
Step 2: Pick and place the machine
SMD or surface mount components should be placed on the prepared PCB by robotic equipment. Then, the components need to be soldered to the board surface.
Step 3: Let the solder paste set
In order to adhere components to the PCB, the solder paste needs to be reflowed and held in place for long periods of time.
Step 4: Check PCB components
After the reflow process is complete and the mounted components are soldered in place, a PCB inspection is performed. The assembled board should be functionally tested and checked. Methods of inspecting PCBAs for quality control include:
Manual inspection: A visual inspection performed by the designer himself to ensure the quality of the PCB.
Automated optical inspection: A more suitable inspection method for high-volume PCBAs. Automated optical inspection machines, or AOI machines, use high-powered cameras, set up at different angles to view welded connections.
X-ray inspection: for inspection of more complex PCBs by inspecting layers of the PCB and identifying potential problems
Step 5: Insert plated through hole components
A plated through hole or PTH component is a hole in a PCB that is plated through the circuit board. PTH requires a more specialized soldering method than solder paste.
Manual soldering: Manual through-hole insertion.
Wave soldering: An automated version of manual soldering in which a wave of molten solder solders all the holes in the bottom of the board at once.
Note: Solder paste applicators, pick and place machines, high-speed chip emitters, and infrared ovens in insert conveyor configurations can apply, place and solder 50,000 or more parts in one hour.
Step 6: Complete final inspection
Once the soldering process for PCB board assembly is complete, it is time for final inspection and functional testing. Run power and analog signals to test PCB electrical characteristics. One sign of a malfunctioning PCB is that it shows fluctuations in the electrical signal during testing. If the PCB does not pass the final inspection, it should be scrapped. The entire process starts from scratch until a successful PCB is produced.
The above briefly describes the steps of assembling the PCB board. If you want to cooperate with a powerful circuit board manufacturer, please contact us.
Singo is a professional custom PCB board manufacturer. Some of our products are often required to operate in harsh environments where quality and reliability are paramount. With years of experience, we have won a good reputation among customers in the field of electronic production with reasonable prices, abundant resources, and on-time delivery.
